# Authentication
# What is it?
The authentication of Huggy Chat allows you to validate the identity of a user who wants to interact with your system. If the user is known, a session is started for them, and their attendance resumes exactly where it left off. You can authenticate the user even if they use different devices to access your system.
The step-by-step to configure the Huggy Chat authentication is divided into three steps:
- Find your secret key on Huggy's Panel
- Generate token needed to authenticate the user
- Include authentication in your system
# Finding the secret key
There is a unique secret key for each Huggy Chat configured on the platform. It works like a digital signature that guarantees all the authentication process security.
WARNING
⚠️ Do not provide or make your secret key public.
To view your secret key, go to the Settings menu on the Huggy Panel, then click on Channels, select the Widget option and choose the desired Huggy Chat. It will appear in the first field of the page, as indicated in the image below:
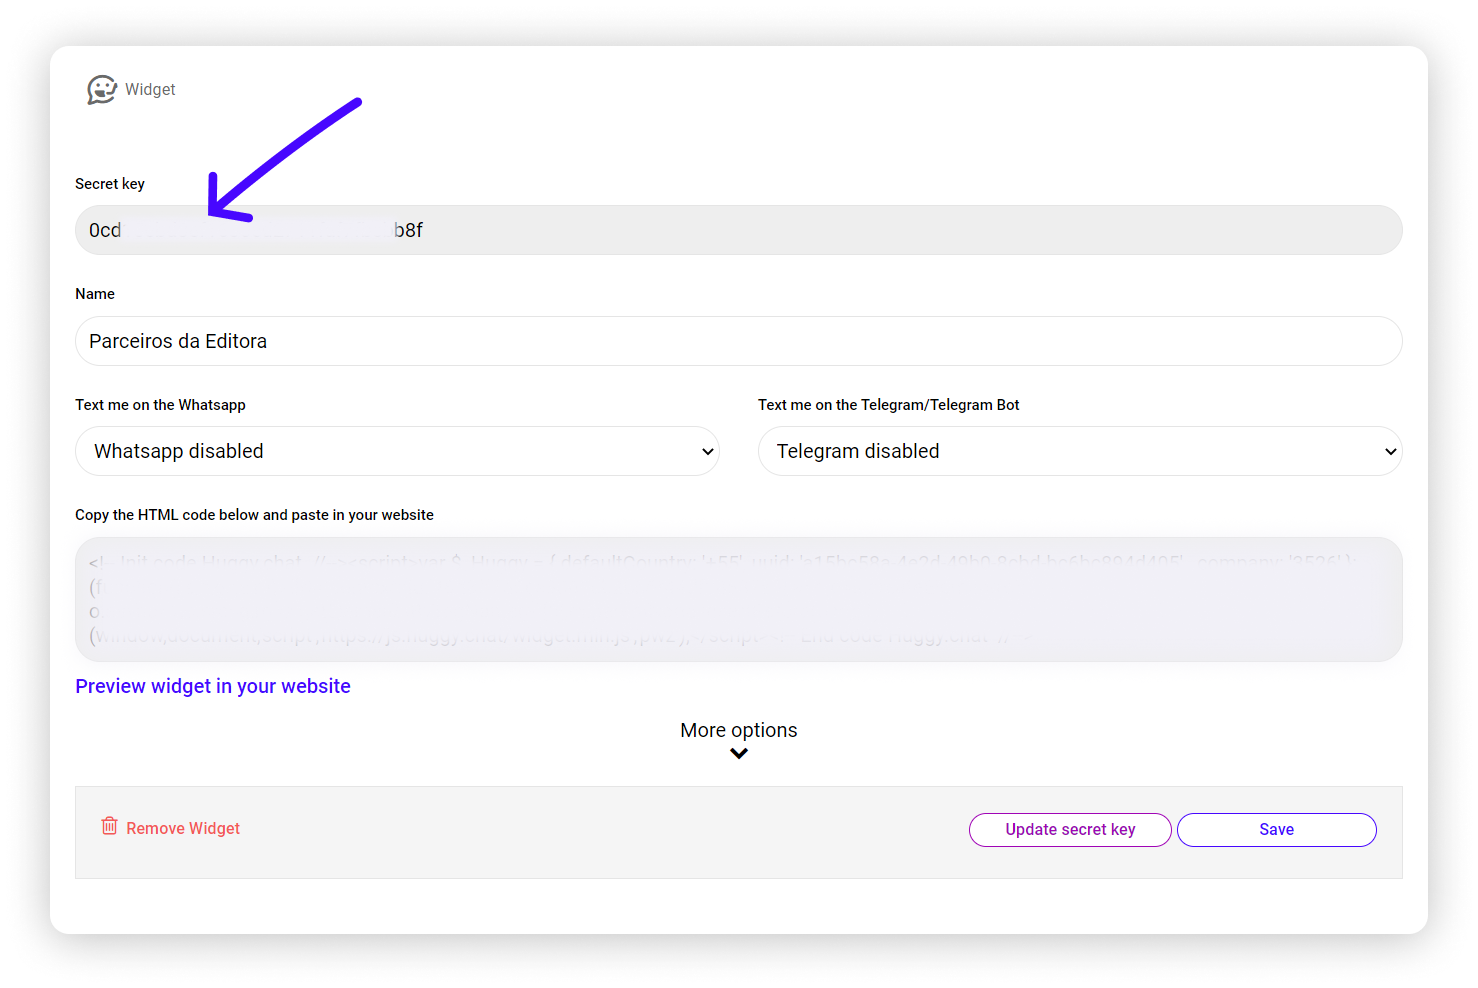
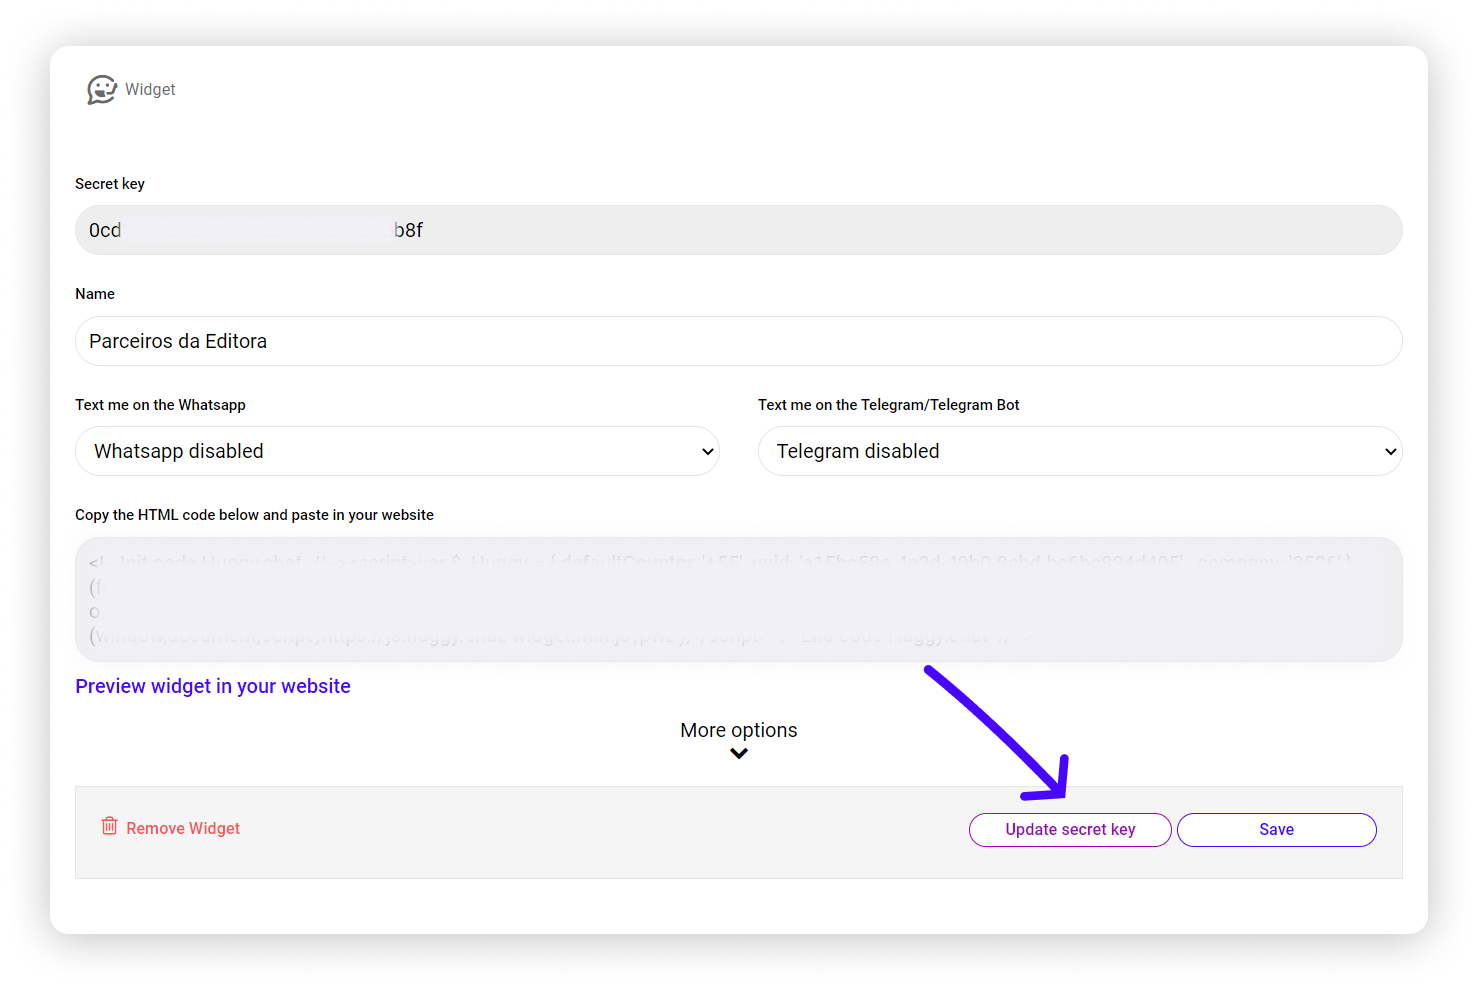
On this same page, you can also generate a new secret key for your Huggy Chat. We recommend using this option as a security measure if you identify that its confidentiality has been compromised.
# How to generate the authentication token
The next step is to generate the token needed for the authentication process. It will allow your user's unique information to be passed securely to our API, ensuring that the request came from your Huggy Chat.
In our case, they are:
- The secret key from the chosen Huggy Chat
- The HMAC-SHA256 Hash Algorithm
The example below demonstrates how to generate JWT using PHP or JavaScript:
WARNING
⚠️ Do not leave the secret key explicit in your system's source code. Make sure that only authorized people have access to this information.
# Include authentication in your system
You can include authentication in your system in two ways:
- Setting the huggyData global variable
- Using Huggy.login method (does not require page reload)
In either case, you will need to provide two properties: userIdentifier and userHash.
The userIdentifier is a unique identifier of your user. It can be, for example, an email address, a telephone number, or an alphanumeric value. The userHash, in turn, is the authentication token you learned to generate in the previous step.
# Setting the huggyData global variable
Choosing this option, you only need to include the huggyData variable in the global scope of the window object before starting Huggy Chat. See how this can be done:
window.huggyData = {
  userIdentifier: 'user@company.com',
  userHash: 'eyJ0eXAiOiJKV2QiLCJhbGciPiJIUzI1NiJ9.eyJqdGkiOiJ1c2VyMUBjb21wYW55LmNvbSJ9.upuQ_qWcSFWdzIAGjEfSi-v_RvWC-bicTLNyEePPOhY'
}
2
3
4
# Using Huggy.login method
This option offers the possibility to authenticate the user without a page reload. You can declare the method as follows:
Huggy.login({
  userIdentifier: 'john@doe.com',
  userHash: 'eyJ0eXAiOiJKV1QiLCJfbGcuOiJIUzI1NiJ9.eyJqdGkiOiJjYXJlb3MuYWd1cWFyQGh1Z2d5LmleIn0.zAqI8oaNPitqy6Eg7aw1LdlWeinT8acPwueQLQc7q70'
})
2
3
4
For more information, check HuggyChatLogin object specification.
# Logout the authenticated user session
To log the user out of Huggy Chat, you can use a method we provide called Huggy.logout. It offers some optional parameters to define whether or not Huggy Chat should be reloaded and trigger a callback method if necessary.
# Using Huggy.logout method
For more information, check HuggyChatLogout object specification.
TIP
If you need to start Huggy Chat again after running Huggy.logout with the reload property set to false, you will need to start it programmatically.